|
| ||
|
(Texture Transitions) ~ by Angus ~ Hey again. My name is Angus and I've been using Traxx since early on in the beta stages. On this particular page, I'll be showing you how to do really good texture transitions using Traxx. Click the image above to download the textures we'll be using in this tutorial. (Optional) If you have your own textures you want to use, by all means use them! I've just put them up here in case you don't know which ones to use.
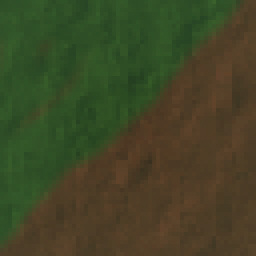
This technique is really a two stage process. The first is to prepare the textures. I'll be showing you how to do that using layers in Paint Shop Pro. The second is to add them to your track using Traxx. Step 1 - The Textures The first step is to open up your two base textures in Paint Shop Pro. Increase the color depth of the grass texture to 16 million by clicking on theColors menu, Increase Color Depth, and 16 Million Colors (24 Bit). Copy the dirt texture to the clipboard and paste it onto the grass texture as a new layer. Next, select the eraser tool and set it to round, size 15 pixels, hardness about 40, step 25, density 100, and opacity 100. Now it's time to start working! Erase a rough triangle from the top left corner. It should come out roughly like this. (blown up 400% for ease of viewing)
Decrease color depth to 256 colors, merge the layers, and save the texture with a unique name (I use GUS as my prefix, a 3 letter identifier, and 2 index numbers. For instance, GUSTER10.RAW is my dirt texture) and an index of 1. So, for our new texture we would use the name GUSTER11.RAW.
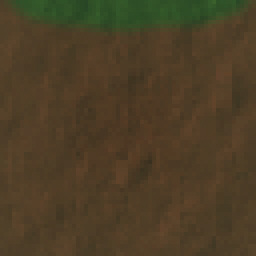
Click undo until you reach the point just before where you began erasing. The next part to erase is the top. We'll call this an indent. Make it look like this.
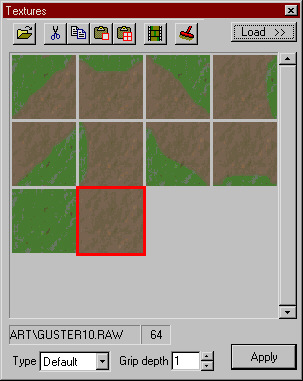
Save it with an index of 2 (For example, GUSTER12.RAW). Next, do the upper right corner triangle and save it as GUSTER13.RAW. Then an indent of the left side as GUSTER14.RAW. GUSTER15.RAW is the right side indent. Please note: If you do not use a naming system like mine, you run the risk of name conflicts, which can destroy how a track looks. As well, if you choose to use the textures I have here, please go to my page (link at the bottom) and get my texture pack instead. Next up: Applying the transition! Step 2 - Traxx Now, load all your textures into Traxx, as well as the plain grass and dirt textures. It should look roughly like this. The appearance may vary with yours depending on the colors you use and the order in which you make the textures.
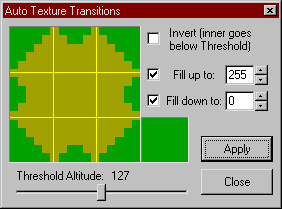
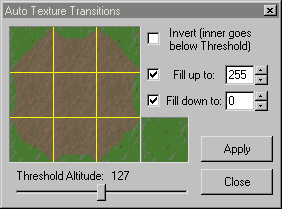
Put the textures into the texture transitions box by clicking them and clicking the appropriate square in the Transitions box. You paint the textures into the Texture Transitions box the same way you paint the terrain. The Transitions box should start out like this.
And end up like this.
To test out your transition, make a random terrain and apply it. Pretty, isn't it? Play with it and you'll soon see you can create some good effects. If you turn on the invert setting, you can use this to have dirt underwater and grass above. Hope you enjoyed learning how to do a really great texture transition! |

