|
| |||||
|
(Traxx Set Up) First you will have to make a new directory/folder into which you will install the Traxx program and help files.
If you do not already have Traxx, you may download the latest version by clicking here (287k). Next, unzip the contents of the compressed zip file into the folder you just made for it. And that's basically it. But there are a few extra things you should note.
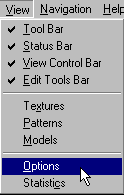
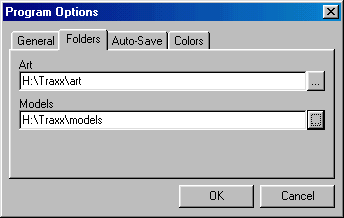
The first time you run the Traxx program, you will/should be prompted to create models and art folders. Answer "yes" to the prompt and the Traxx program will create the appropriate folders automatically as sub-directories in the Traxx folder. If, for some reason, this does not work the way it is supposed to or you want to store the models and art for your tracks someplace else, then simply make two folders ("models" and "art") somewhere convenient on your hard drive. Then, from the Traxx menu, click View/Options and the options window will appear.
Click on the folders tab and type in the location or browse to the folders that you have just made. Click "okay" when you are done.
This step is extremely important because the program must know where to find the textures (little graphic files) and bin model files (trees, fences, etc.) that you will use for your track. For more information on program options please click here. Finally, you will need to build texture and model databases. But that is the topic of the next page. |

