|
| |||||||||||||||||||||
|
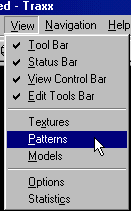
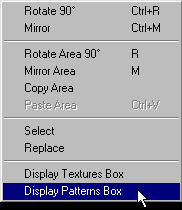
(Working with Patterns) Patterns offer all the benefits of working with templates but with the added bonus of being able to use textures from more than one track. You can open the patterns dialog box by using one of the following methods:
Following either of these procedures will bring up the patterns box.
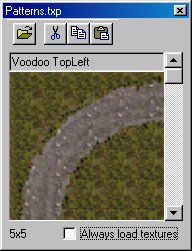
The Patterns Toolbar
It is important that you understand that even though the icons on the patterns toolbar resemble standard windows File, Cut, Copy and Paste features, these Traxx pattern tools do NOT interact with the windows clipboard. In fact, in a loose sort of way, the patterns box can be thought of as the "Traxx clipboard." It is here that you can store sections of textures that you've copied from a track, and, again, it is from here that you can paste those stored patterns back into your track. Adding Patterns to the Patterns Box
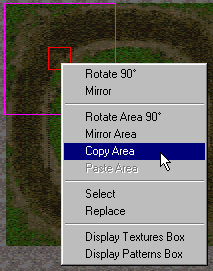
The first step to adding a pattern to the patterns box is exactly the
same as if you were preparing to use a template. That is, in texture
mode
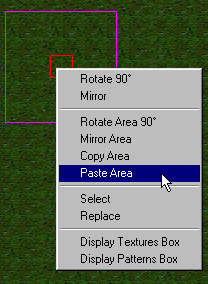
Now, instead of going to somewhere in the terrain to paste the area
for your track, click the paste button
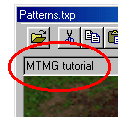
Type in a descriptive name and click OK. Your pattern will appear at the bottom of the list. Notice, the name you give it appears just below the patterns toolbar.
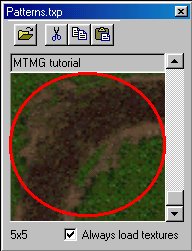
And the size of the pattern (measured by grid squares) appears in the bottom left hand corner of the patterns box.
Repeat this procedure for as many patterns as you would like to make.
Pasting Patterns into the Terrain Assuming, that you have all the patterns you want to use loaded into the Traxx patterns box, you are now ready to begin building your track with the help of patterns. The first thing you need to do is use the scroll bar to bring the pattern you want to use into the main viewing area of the patterns box. For example:
Now, use the copy button
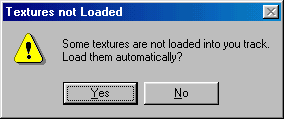
If the textures are not already loaded into Traxx, you will be prompted to load them.
Selecting 'yes" loads the required textures and pastes the pattern into the terrain. You're done.
You may repeat this procedure for your entire track. Yes, it is amazingly similar to building a track using templates but has these few advantages. You may copy areas of the terrain from View Pod file mode and paste them into the patterns box. You do not have to continually move back and forth between the template area and the track area while constructing your track (F2 & F3 become unnecessary). And, you may use patterns from more than one track at a time (provided you have extracted the models and art for each track). Patterns Tip Sir James has been busy working to make our track making tasks even easier. Traxx patterns are stored in files appended with the TXP file extension, and Sir James has made a patterns file for many of the stock MTM2 tracks. They are available in zipped format and are here described by him:
To use these pattern TXPs, unzip to the Traxx folder. Then, in the patterns box, select the open file button to open a standard windows dialog box.
Choose the txp file that corresponds to the track for which you have extracted the models and art. Now, instead of the default Voodoo Island patterns created by Guitar Bill, you will see the new patterns created by Sir James for the track you want to use. Should you ever want to make a track using Voodoo Island textures, simply click the open file button and re-select the default "patterns.txp" file.
|
