|
| ||||||||||||||||||
|
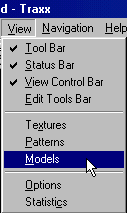
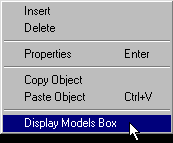
(Inserting) After textures and altitudes, the models (also known as objects, props or bins) you use will determine how your track looks, appears and behaves in MTM2. The procedure for inserting a model into your track is really quite simple, so let's take a look at that first. Just as with textures, before you can insert a model into your track, you must have the bin files loaded into Traxx. You can open the models box by using one of the following methods:
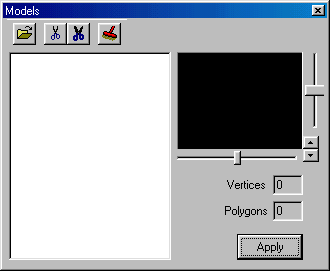
Following either of these procedures will bring up the models box.
When you click the open button
Now that the models are loaded, go to the location in your track where
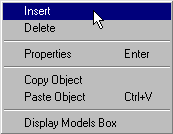
you want them to appear. Still in object edit mode
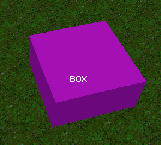
This will insert a purple cube in the terrain.
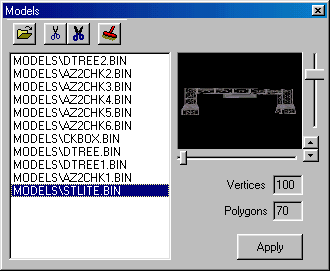
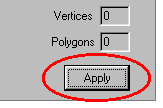
Now, return to the models box, select the object you want to use, and click Apply.
The object will appear in your track. The starting light in this case, for example.
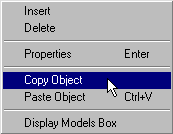
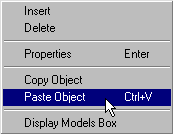
You may drag and drop the object with the mouse for more precise placement. Copy and Pasting Objects In the event that you want to place many of the same objects again and again in your track (for example trees), you can save a lot of time and work by using the copy and paste feature. To do this, highlight the object to be copied with the mouse. It will be outlined in white. Right click the object and select copy from the pop up menu. Now, go to the spot where you want the object to appear again, and right click the terrain and select paste from the pop up.
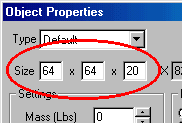
Object Boxes Lastly, there is the case where you will want to just use the object cube, but not apply a model to it. For instance, for the posts of check points, the trunks of trees, or for barriers. To do this, insert the object cube in the same manner described above but do not apply a model to it. Now, double click the purple cube to bring up the object properties box. You may use this to adjust the size of the object cube.
Enter different numbers into the three value boxes to adjust the object's width, length, and height. More on object properties will be discussed in the following few pages. |
