|
| |||||||||||||||
|
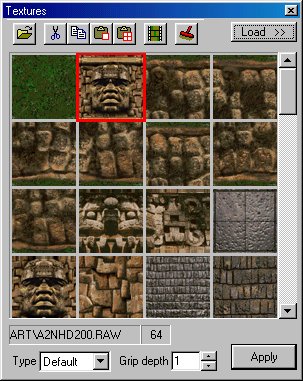
(Painting) Let's face it, an unpainted ground box or one with all sides the same is a pretty bland prospect to include in your track. Fortunately, coloring up ground boxes is just as easy as painting the terrain. In fact, you will select and paint with textures in almost exactly the same way you do for painting the terrain. To begin, open up the texture box and load the textures you want to use.
Next, highlight the texture you want to use by clicking on it. The texture will be outlined with red. For example, like this:
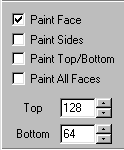
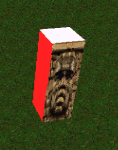
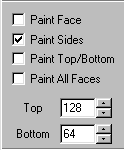
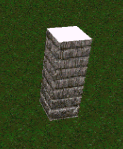
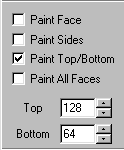
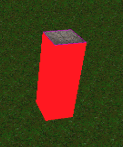
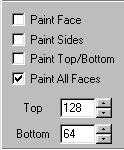
The side bar check boxes will determine where the texture gets applied. Now, I could go through some acrobatic verbal and grammatical gymnastics to explain what each one does, but I think, in this case, a picture is worth a thousand words. So, the following is a diagram explanation so that you can "see" the results of each paint feature.
When you right click a ground box, you will see a rotate 90 degrees and a mirror option. Use these options to change how the texture is applied to the ground box. These features do not rotate or mirror the ground box itself.
|
