
Old Traxx did everything one object, one texture at a time. Now you can pick a whole group and move it, turn it, change its type, give it all the same mass or the same model, or delete it in one go. This page also covers the other half of working fast: placing a single object exactly where you want it.
Go into Edit Objects mode and:
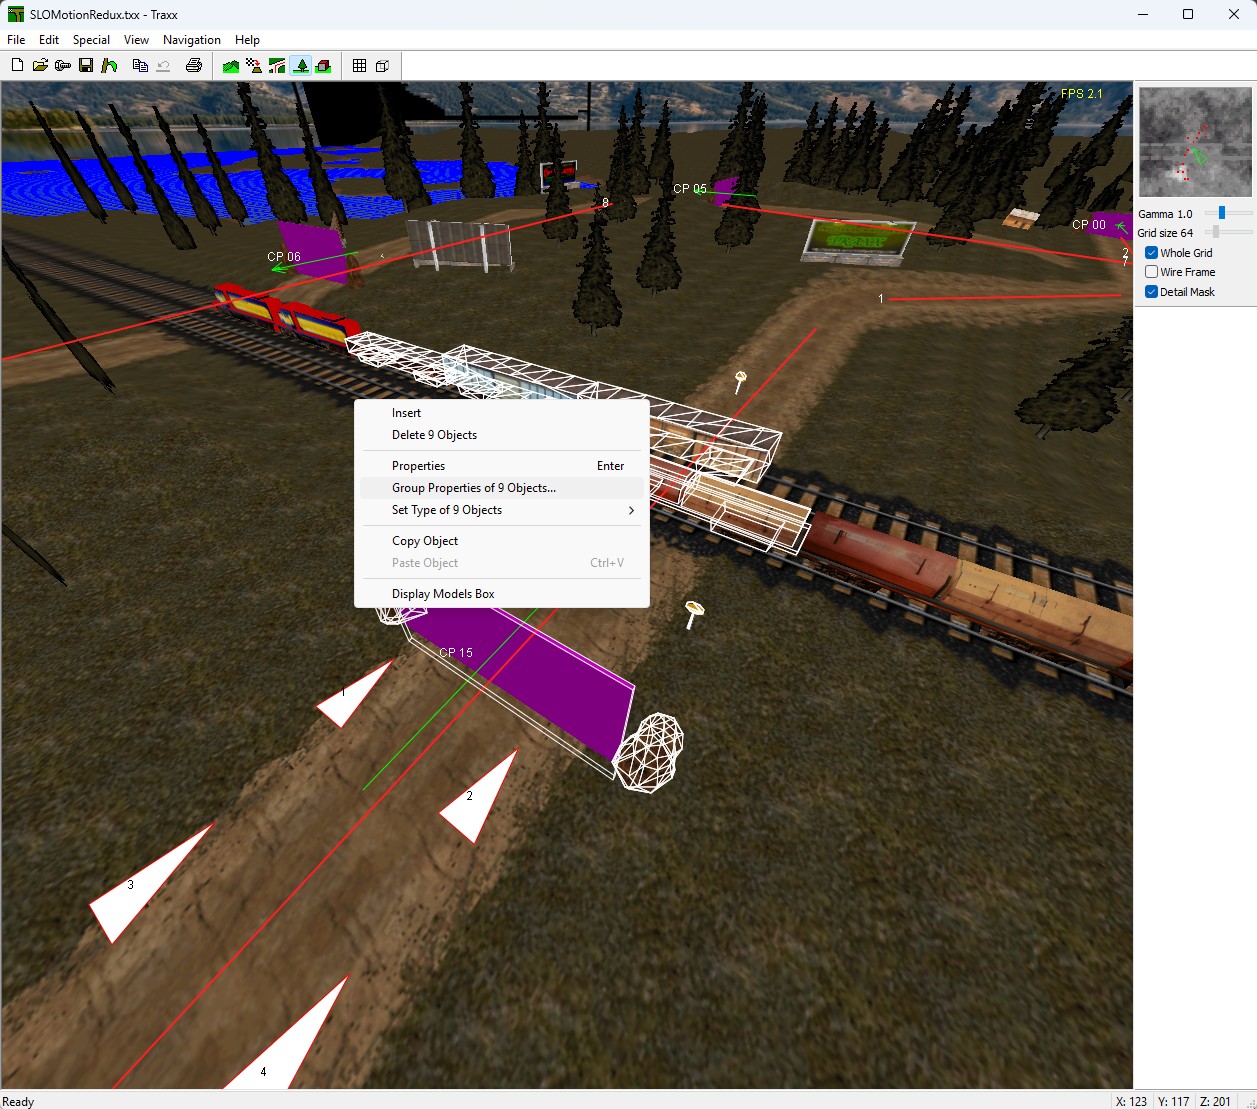
Every selected object is outlined. Click one of them and drag, and the whole group goes with it; if you click one without dragging, you are back to just that one, the way Explorer does it.
The keys that move, raise, turn and tilt a single object (see Help → Keyboard Summary) now act on every selected object, each in its own place, so the group keeps its layout. Dragging and Shift+dragging do the same.
Right-click one of the selected objects.
Note: Undo does not cover objects, for one or for fifty. Save before you delete.
Note: types have limits (see Checkpoints & Objects). If you set forty objects to Ramp on a track that has room for ten more, Traxx converts what fits, leaves the rest as they were, and tells you how many it left alone.
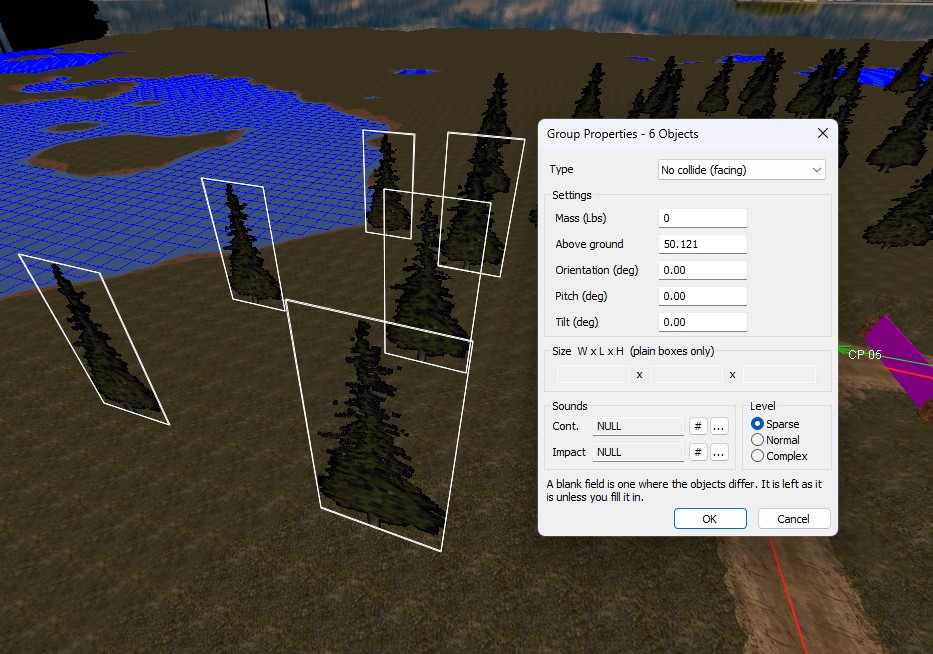
Right-click again and choose Group Properties of N Objects... (it is greyed unless two or more are selected). The window is called Group Properties — N Objects and sets, for all of them at once:
A field the objects share shows its value. A field where they differ is blank, and a blank field is left alone unless you fill it in. So you can change the mass of fifty objects without flattening their headings. The line at the bottom of the window says the same.
Above ground, the three angles and the size show in the 3D view as you type them. Cancel puts everything back. A mistyped number sends you back to that field before anything is applied.
With the group selected, pick a model in the Models window and press Apply. It goes onto every object in the group. Fog objects are the exception: they are always plain boxes and are left as they were.
The Textures window can select a block of textures too.
The selected ones get amber frames; the last one you clicked keeps the red frame, and that is the one painting and flood fill use. The name beside the picture reads like GRASS1.RAW +3. Change Type or Grip depth now and it applies to all of them. The window also scrolls with the mouse wheel.
Note: Ctrl+click is still "add as an animation frame" (see Animated), and Ctrl+drag does nothing, so a sweep across several textures cannot add frames by accident.
Tip: plain Ctrl is not used on the move keys, because Ctrl+C and Ctrl+V are Copy and Paste.
See also: Inserting, Properties, Settings, Type, Loading textures, Keyboard.
| << The Modern View << | >> Checkpoints & Objects >> |
