
A detail map adds fine surface relief to your ground, or fine ripples to your water, without making the textures any bigger. Each kind comes as a pair: a mask, which says where the detail shows and how strongly, and a detail normal, which says what it looks like. Traxx loads them, checks them, and lets you see the result on your track as the game will draw it.
Needs: Community Patch #4.
Note: only the DX11 and Vulkan renderers draw detail. The DX9 renderer and the original game ignore it, and the track still loads there.
The mask is a top-down picture of the whole map, in any paint program, saved as a PNG or TGA. It is stretched once across the whole 256x256 track. Where it is black, the ground gets the game's normal amount of detail. Where it is white, the detail is five times as strong. Shades of grey fall in between.
The one rule that matters: the mask must be pure greyscale. If you paint over a coloured guide picture of your track and then save it still flattened into the file, the game reads the guide's colours as mask values. Ground you never touched gets a strength you never asked for, and it looks right in your paint program and wrong in the game. Traxx checks for this when you load the mask and warns you.
Tip: paint with a hard, plain brush and keep to greys. You can check where you painted in Step 3.
Open Edit → Track Components. Four rows near the middle of the box hold the maps. Each has a ... button to browse for a file and an X to clear it, just like the backdrop or the info photo.
Once a file is loaded, the row names it and says how big it is.
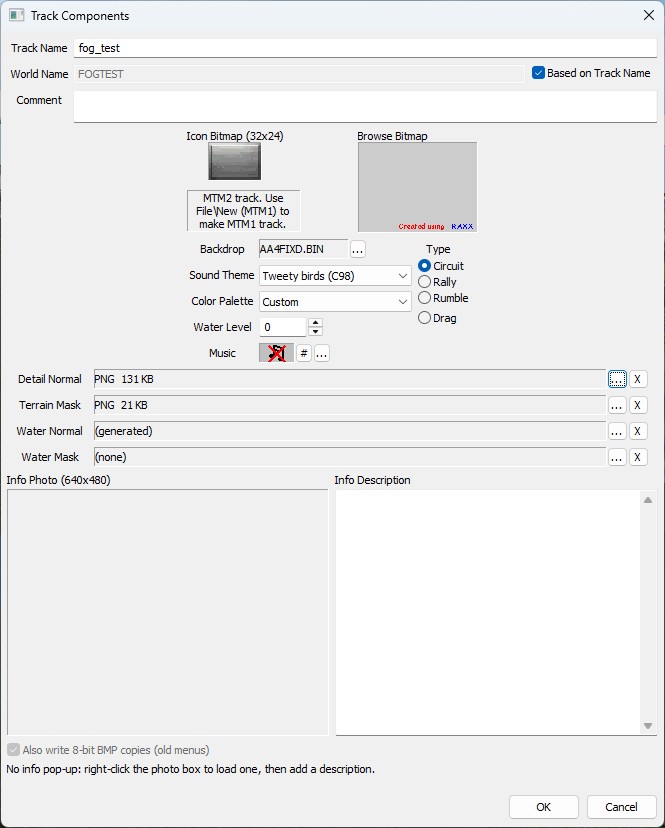
The file windows are titled Select Terrain Detail Normal, Select Painted Terrain Mask, Select Water Detail Normal and Select Water Mask. Traxx checks what you pick and warns, with a chance to load it anyway:
Note: the detail normal is optional. Leave it empty and the game uses its own built-in pattern. The mask is what decides where any of it shows.
Three switches under View → Visual Helpers show your maps on the ground and water. The strength ones also have boxes on the View Control bar.
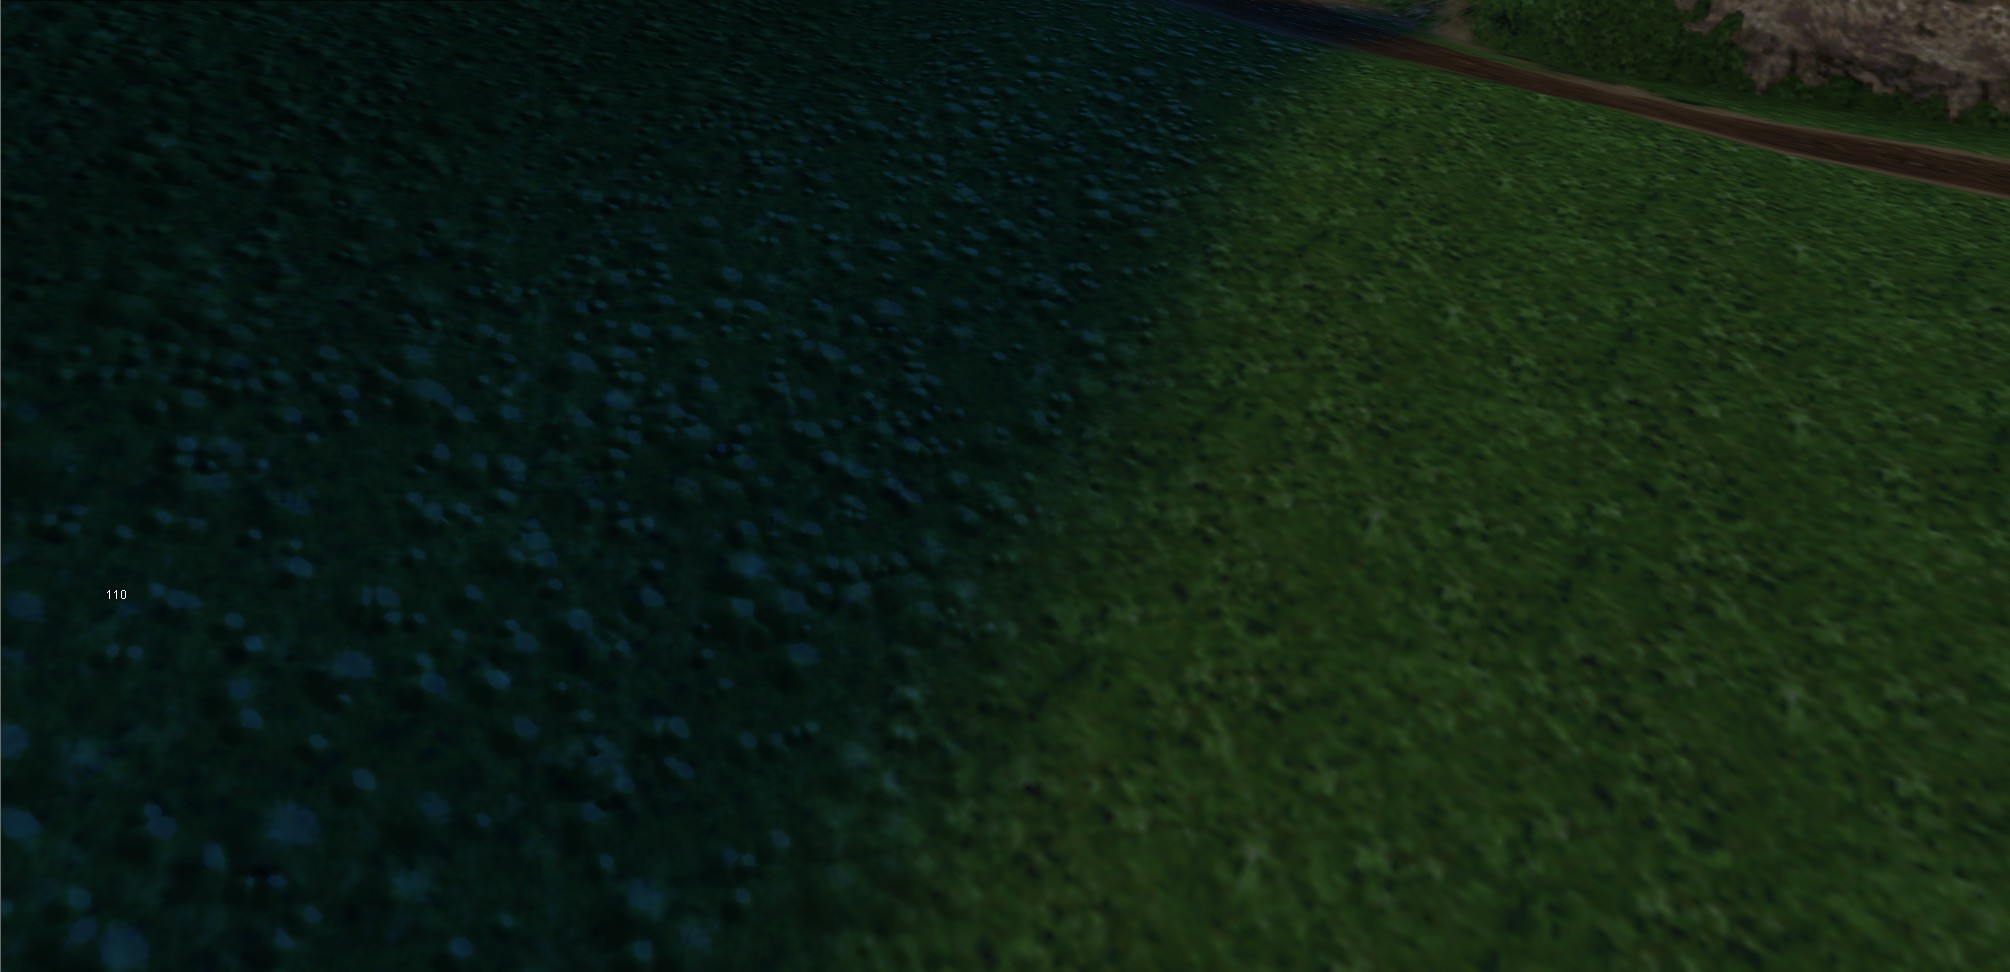
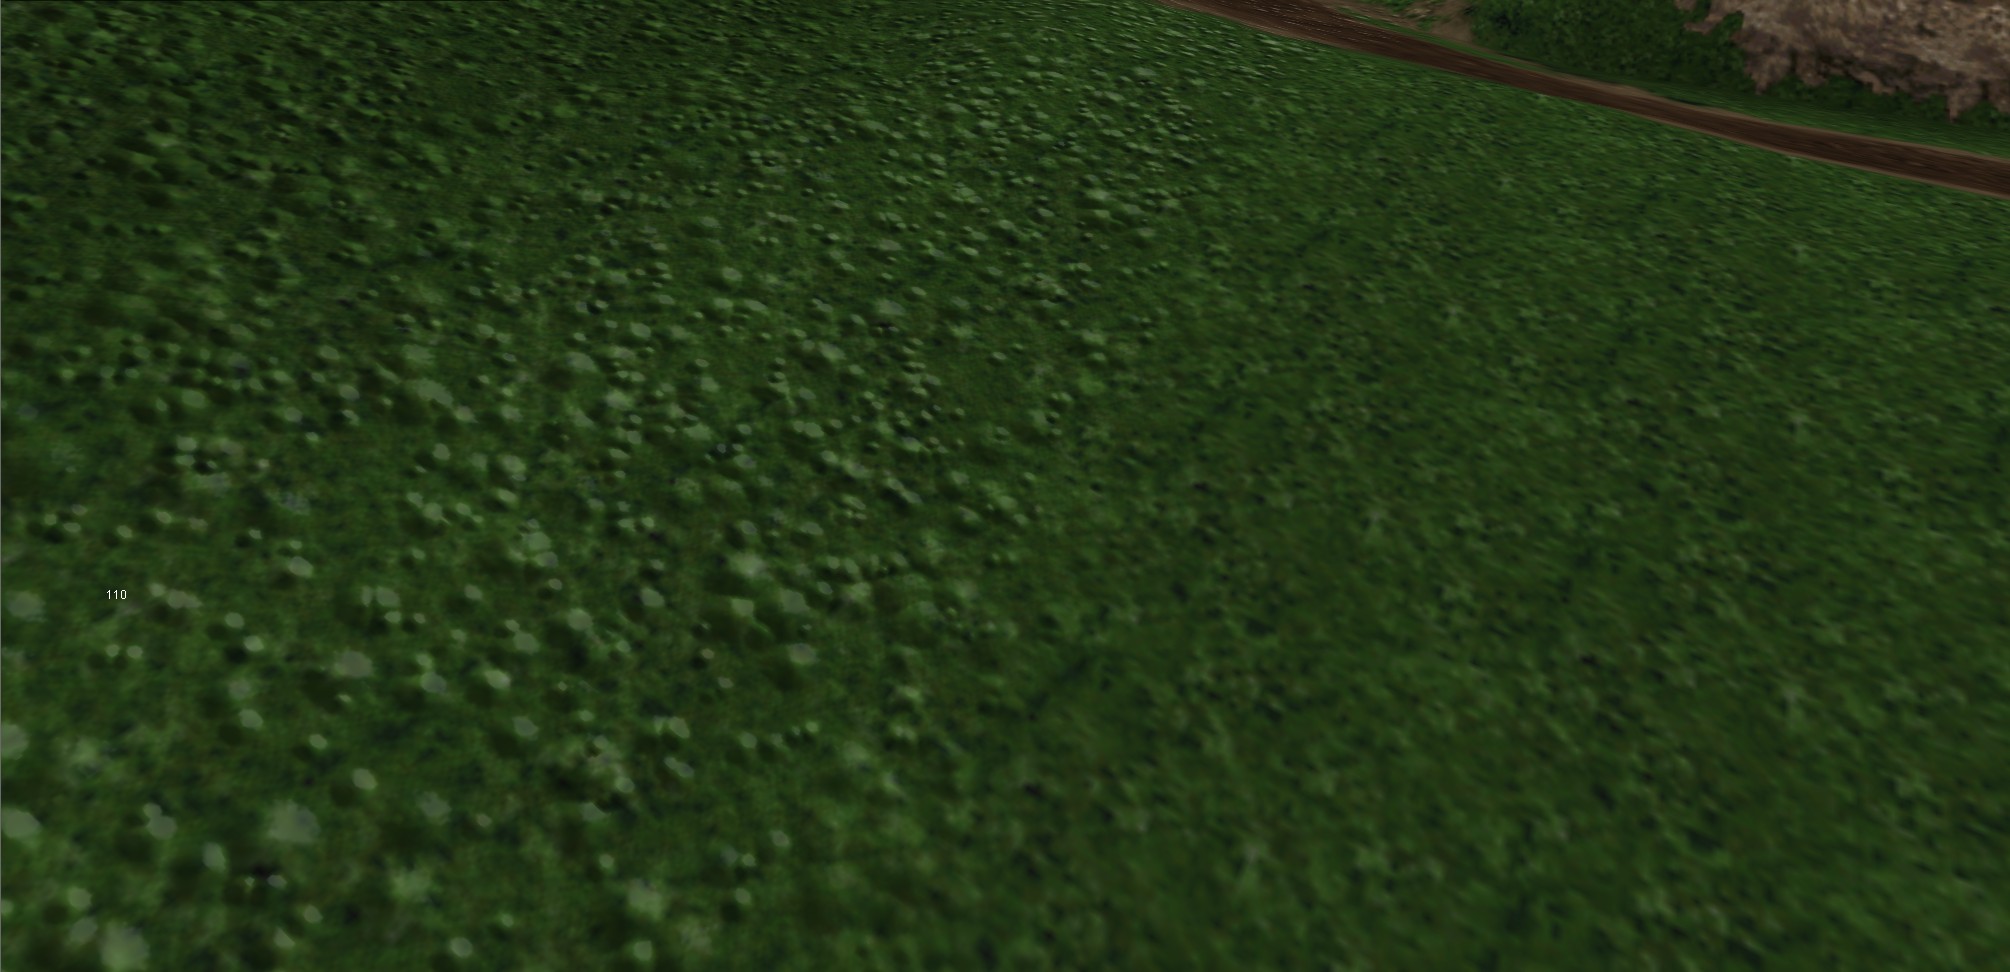
Note: these only work in the OpenGL view, and are greyed out without it. See Setting Up.
Note: the game has a detail setting of its own that players can change, and Traxx shows the default. Treat the picture as the usual look, not a promise.
Note: in older versions of Traxx these switches were called Show Detail Mask and Show Water Mask.
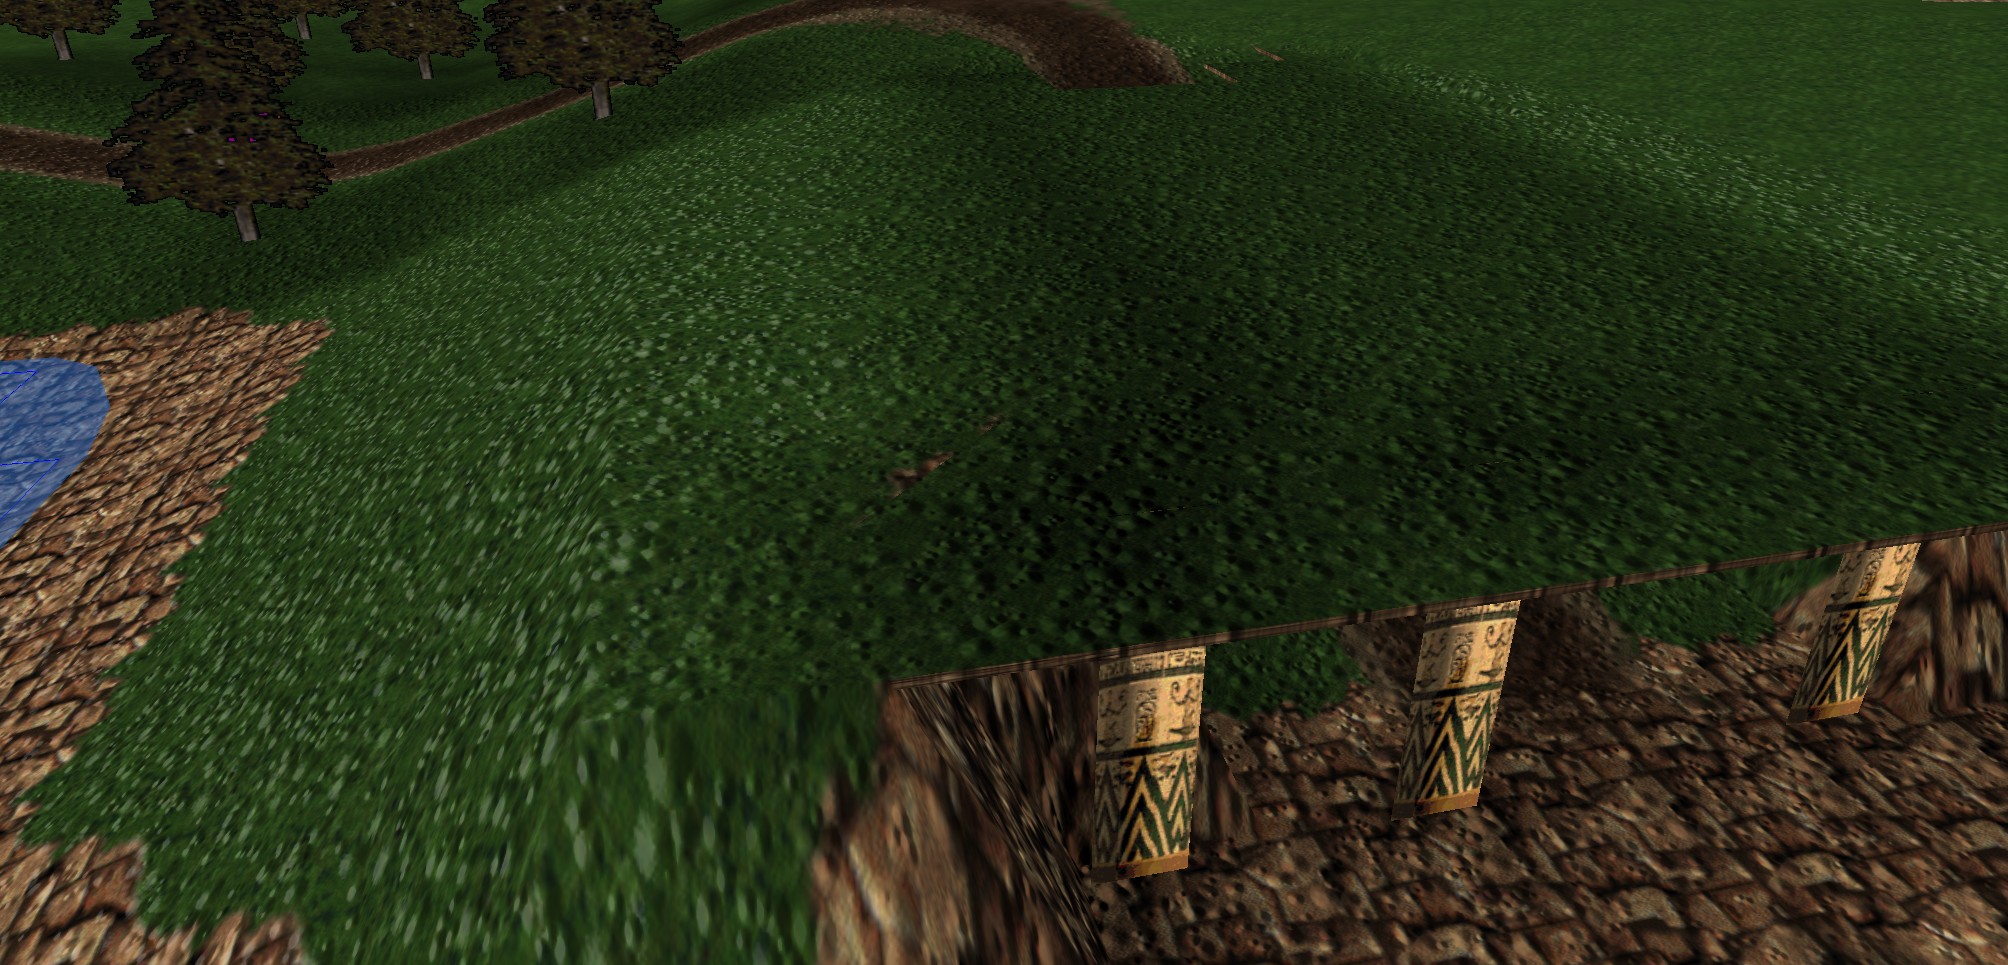
From Traxx 1.8.1 your ground boxes show detail too, when Show Detail Maps or Show Detail Strength is on. The top of a box carries on the ground's detail. Its walls show the detail stretched down their sides, as the game draws them. A box with no height, or one covering several tiles, is drawn plain.
See also: Components, Lighting, Water Level, Writing the Pod.
| << Menu Pictures & Music << | >> Surface Meshes >> |
