|
| ||||||||||||||||||||||||
|
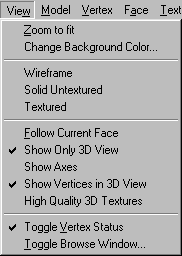
(Add and Move) This page will talk about translating parts of a model, rather than the whole model. This page is not about animated bins. Adding and moving a part of a model uses the insert and translate features together. In more complex situations you will want to use groups too. For that reason, I will work as if things are more complex in order to demonstrate how groups can be of help. Since we've done okay using the zep house, we will continue with that example. This time we will add a pointed roof. The first thing you will need to do is goto View>Show Vertices in 3D View as well as View>Toggle Vertex Status and make sure both options are checked.
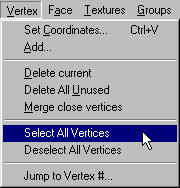
Open the model part that you will be wanting to move. For us, it will be the house. Now, goto Vertex>Select All Vertices:
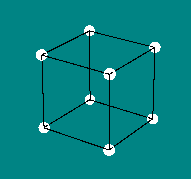
All verticies will be highlighted with little round balls. It is sometimes easiest to view in wireframe mode. Like this:
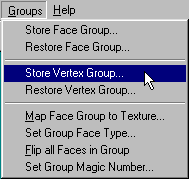
Before continuing, goto Groups>Store Vertex Group:
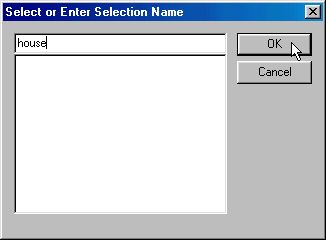
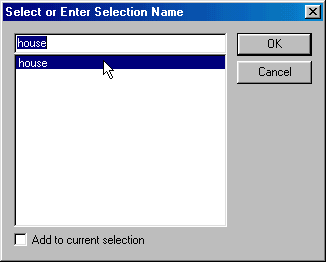
This box will appear. Just as you did for storing faces, give the vertex group an appropriate name and click okay.
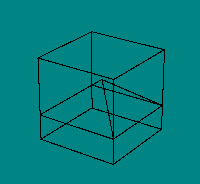
Next, goto Files>Insert and open the file you want to be a part of the current model. For our example I have already prepared the model. I will adapt, for our uses, the hay-pyramid from Oliver Pieper's readme.txt file. Go ahead, click ok to open. You will see something like this:
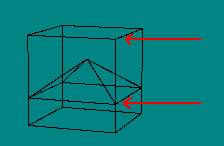
Before we translate, we need to take a couple measurements. Using the tab key, cycle through the verticies until you come to the two points that you want to bring together. In our example that means, 1.) the top edge of the house, and 2.) the bottom edge of the roof.
We will be translating along the y axis, so we must note the y values for each point. Read the values from the vertex status box as you cycle using the tab key:
Do the math. -192 minus 500 equals -692. Therefore we will be translating the house down -692 editor units on the y axis.
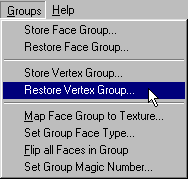
Now that we're all set, goto Groups>Restore Vertex Group.
Choose the stored group and click ok.
You will see the verticies highlighted with little balls once again. Notice the roof verticies are not selected.
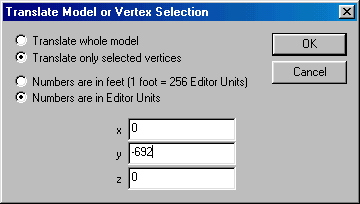
Goto Model>Translate. The translate box will appear.
Enter the values that you want to use. In our case, it is to Translate only selected vertices, Numbers are in editor units, and -692 in the y value box. Click ok, and the house will now line up perfectly with the roof.
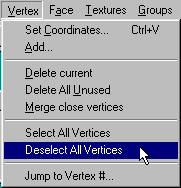
Goto Vertex>Deselect All Vertices:
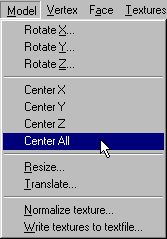
Goto Model>Center All:
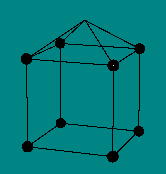
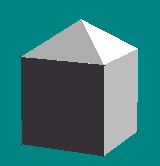
Your model is complete, and the roof should align perfectly:
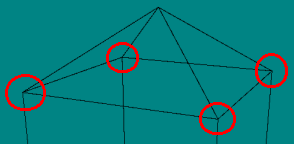
Note: you can check that the parts are aligned correctly by using the tab key to cycle through the verticies and comparing the coordinates of each point. If your math was accurate, so should be your model.
Save your work. Now you may do touch up texture mapping if you need to.
Special thanks to Lord Cap |
