|
| |||||||||||
|
(Adding Faces) Adding faces to this model is done exactly the same way as it was with the simple 2D model. Quick review. Goto Textures>Load.
Browse to the texture you want and click Open. For this excercise, I will stay with my little homemade arrow.
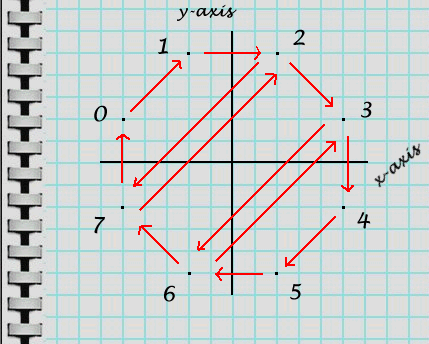
Since this model has eight corners, it's obvious that it cannot be done with just a single face. In fact, it will need a minimum of three faces. Therefore, we need to think about where the faces will go before we know how to define them. We must divide the octagon surface up into three and/or four cornered parts. Like this:
For this example, we will be defining three faces
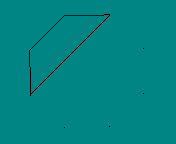
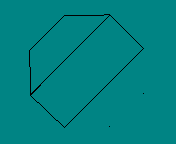
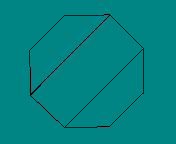
1st face will use vertex points 0,1,2,7 For more details on this and other possible face definition combinations, please click here. With this information, we are ready to define the faces that will form our octagon. Goto Faces>Add. Enter the values, set the face type, and click OK. Repeat this for each face. You can watch the shape develop as you add faces.
Save your work. Now, as long as we stay in wireframe mode, this looks nice and complete. However, as soon as we turn on texture view mode, we recognize a problem.
Fixing this up will be the topic of the next page: texture mapping. |


