BINedit Simple 2D Models
Simple 2D Models
(Adding a Face)
Now that the verticies have been defined, we must prepare the
way for the face that will use them. This is simple and only involves
loading a texture that the face will use. So, click Textures>Load
This will open a standard windows box. Browse to the texture you
want to use and click open. You will return to the binedit work area.
Everything will look the same but, be assured, the texture is now ready for use.
|
Note 1: textures must be in *.raw file format,
have an accompanying *.act file, and be either 64x64 or 256x256 pixels
in size.
Note 2: the texture does not need to be the one
you will finally end up using for your model. It can be anything
for the time being, and you can and most certainly will change it later.
The point, for now, is that faces need textures mapped to them, and binedit
needs something, any texture, in order to create the face.
If you know the texture you will be using for this particular face, then
by all means load it up. If, on the other hand, you are not certain,
then anything will suffice. A favorite of mine is just a blank arrow
that I made.
|
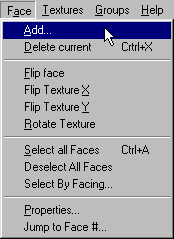
Okay, now that we're all set, go ahead and click Face>Add.
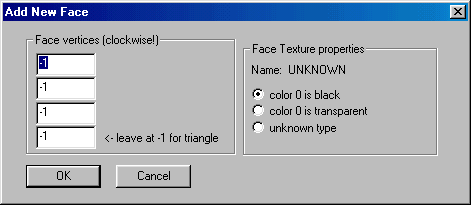
This will bring up the "Add New Face" box where you can enter the face
information you need.
Part 1 - Face vertices (clockwise!)
Enter the four vertex numbers that define your face (3 if it's a triangel).
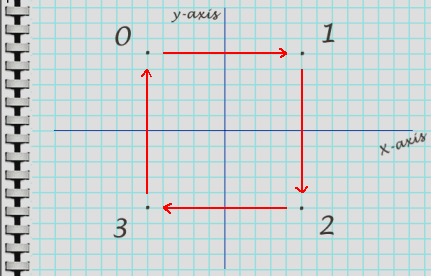
Review our example:
Note: you can start the definition of the face
from any corner. For example, all these combinations
0,1,2,3
1,2,3,0
2,3,0,1
3,0,1,2
will define a face that is visible from the same side.
|
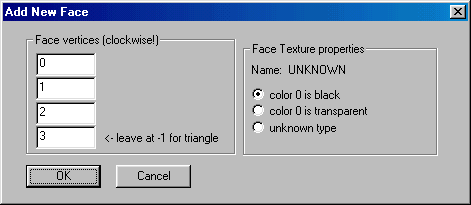
For us, we will use 0,1,2,3. Like so:
Part 2 - Face texture properties
Click the radio button to select the face properties you want to assign to your model.
| Summary |
| color 0 is black |
0x18 Normal Texture (MTM)
For "most" models in mtm1 and mtm2
|
| color 0 is transparent |
0x11 Transparent Color #0 (MTM)
Trasparency in mtm1
|
| unknown type |
don't use this |
Unfortunately, this list is short and does not offer all available face types. If you need one of the other face types, please click here to goto a page that explains how to change face types.
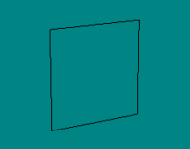
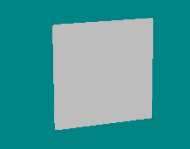
For our example, we will select "color 0 is black" and click okay. Our face is now defined.
In BinEdit, it will look like this.
| wireframe |
solid untextured |
textured |
 |
 |
 |
|
Note : this is displayed using the arrow texture;
your texture will be different.
|
Save your work.
|
Note : although this model isn't much to look
at, it could be used in a track. That is, it has all the basic requirements
to function properly.
|
|
If you would like to use the arrow texture as a starting point for
your own work, you may download it here (1k).
|
| 

