Painting Trucks in PSP 7
A Tutorial by Cale Putnam
[ Intro | Layers | Trucks | Body | Rips | Details | Shading | Textures | Assembling | Links ] - [ MTMG ]
Correct Texture Arrangement!
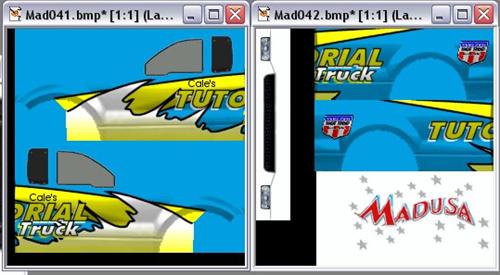
The only thing left for the sides of the trucks is to get them into the correct arrangement to map them onto the model. First, hide the background layer then go to Layers->Merge->Merge Visible to get all of the layers into one, copyable layer (name it "textures" if you want). Then hide this new layer and show the background layer. Using the original texture files as a reference, select the front section texture block, try to get it pixel perfect on the back edge but you can leave excess everywhere else. Click in the selection and it should shrink to fit the painted areas only and not the transparent areas. Now click back into the textures layer and make it visible. Copy the selection and paste it into the appropriate spot on the Madusa textures (I suggest creating a new layer for this; we will need something from the original texture later). Do this for all four sections. The result should look like this.
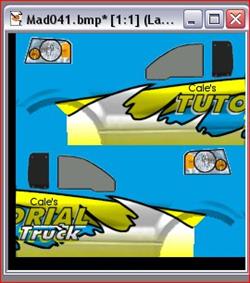
Get the headlights now. Go back to the background layer of Mad041. Select the headlight completely surrounded in white using the square, then use Shift+Right Click with the magic wand on the white to shrink the selection to the headlight. Then just paste it in the appropriate spots, mirroring where necessary.
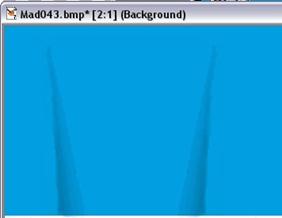
Great! Now it's time to make the rest of the truck blue to match the paint job on the side. Let's start with the hood. It's mostly white so we'll repaint it mostly blue. To get proper hood shading will be tough though. So zoom in on the hood. First erase ALL the stars and graphics (bye-bye, Madusa!) except for the shading.
Now then, we can use one side of shade then copy it to make it work. So we'll use the primarily white side. To get rid of stars, select the areas of shading just below them, copy, and paste over the stars. It's a bit crude, and not as smooth, but at a distance it will look fine. Then copy and paste the shading over the more colorful side.
Copy the shadings and paste them on a new layer in the same position. The layer should be type "Multiply". Then fill the base layer hood area with the same shade of color you used for the base of the sides. It should look shaded now!
The tailgate is handled in the same way. To get rid of the logo, copy the clear sections of shading right beside it, and paste over it.
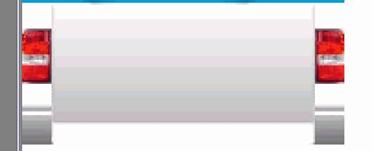
Quiz time! See if you can complete the shading process! Hints: It works the same way as the hood, and the taillights should be copied and pasted on a higher layer.
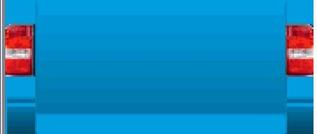
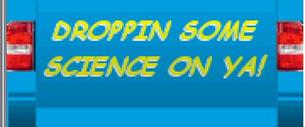
I also suggest a pithy saying on the tailgate... it's proper monster truck etiquette.
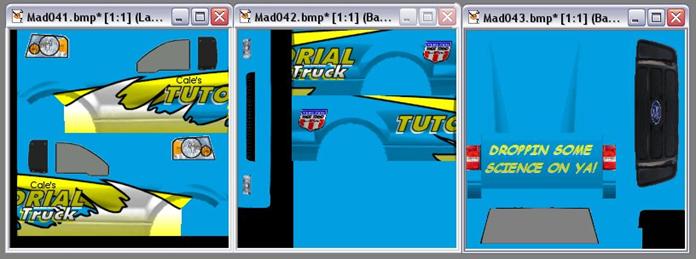
Now it's just a matter of making everything else on the truck blue. Use the Magic Wand with a feather of 1 to get smooth transitions, then paint. In the end, it should all look something like this.