Painting Trucks in PSP 7
A Tutorial by Cale Putnam
[ Intro | Layers | Trucks | Body | Rips | Details | Shading | Textures | Assembling | Links ] - [ MTMG ]
Onto the Truck!
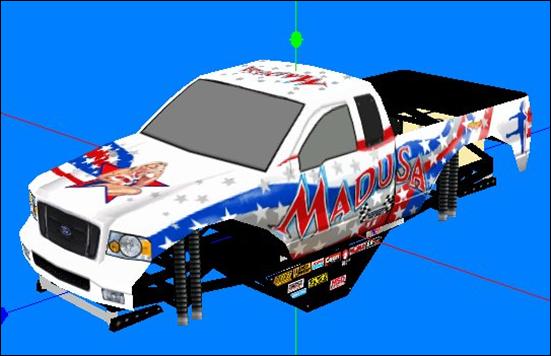
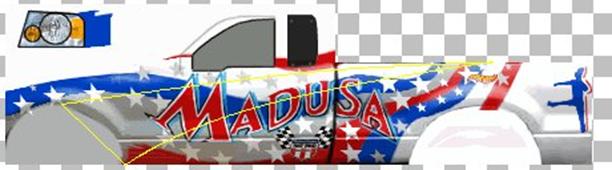
The first job is to know what truck body you will be using. For this project, I am choosing Slick's Madusa 2004 as a basis. It's a 2004 Ford F-150, and the layout of the textures is simple, so it's good for beginners who want a modern looking machine.
The next step is to get the textures into PSP. It's as simple as loading up the .pod into CPOD (Mad04.pod), viewing the textures, copying them, and pasting them into PSP.
There should be 3 texture files to copy: Mad041, Mad042, and Mad043. Here I used FlyRawGui on the extracted RAW's to make .BMP's that can be loaded into PSP, though the CPOD method above works fine. You can see what the 3 files are used for-Mad041 is the cab/front fenders and headlights, Mad042 is the bedsides, bumper and roof, and Mad043 is the hood, grille, tailgate, windshield and cab back.
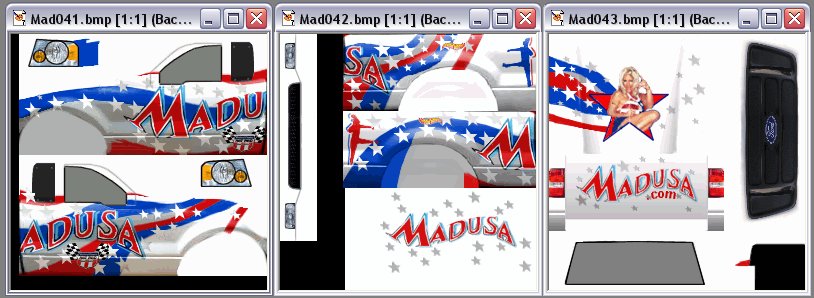
Just so you don't forget, for each texture go to the menu bar and go Colors>Increase Color Depth>16 Million Colors (24 Bit). This makes them full color images that will be helpful for later. Feel free to save them as .BMP's now, too, so you don't lose anything.
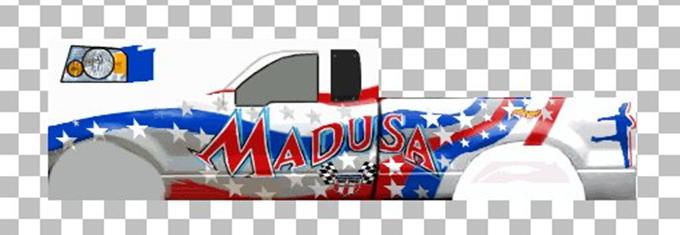
Now create a new blank image. I like to make mine 600x600 so that I have plenty of working room. Now, select, copy and paste the driver's side cab and bedside onto the new image, and line them up as if they were on the truck. In other words, it should look like this:
Now here's where layers start coming into play. Create a new layer by clicking on the overlapping paper in the Layers box. Make sure it is a Raster layer. The layer should appear above the background layer. This will be the base color layer for the truck. You may want to double click the layer name and rename it "base color" if you are easily confused.
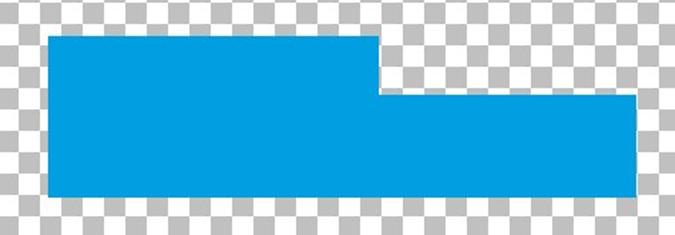
To keep things simple, here's a trick to getting only the shape of the textures filled on the new layer. Go to layer 1 and, using the rectangle select tool, select the texture. Then click in the middle of the texture, the selection should automatically shrink to the texture's outline. Then click back into layer 2/base color, select the color you want as the foreground color, and use the fill tool to do just that. We'll use similar techniques throughout this tutorial.
I have my Formula 1 Hot Wheels cars in front of me, the Renault's light blue looks inviting, so I'll use that. Use whatever colors you want for this tutorial, I want to see some different colored tutorial trucks out there!
Now make another layer in the same way. This will be the first graphics layer, you may want to name it Graphics-1 or some such. Drawing more inspiration from my room, the truck will have a giant swoop sown the side (consider it a stylized racing stripe) with some rips inspired by the graphics on my E-Maxx sitting behind me. This should allow me to cover most tricks.
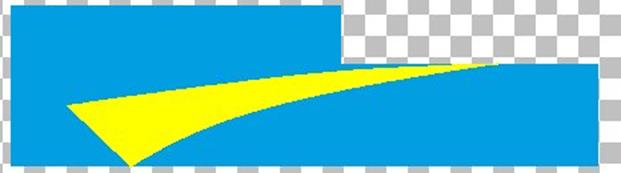
Making sure the top "Graphics-1" layer is still selected; hide the "base color" layer by clicking the sunglasses. This sounds odd but you want to see where your graphics are in relation to the wheel cutouts and hood of the actual truck, and by viewing the base textures it gives a general idea. Now, on the "Graphics-1" layer, select the Line/Draw tool (pencil drawing a line icon) and select the Bezier Curve tool type. Use line width as one, and leave all options at the bottom unchecked. Select the color that you want the swoop to be as the foreground color. Now, draw two curves, one originating at the top of the front wheel cutout and ending about middle of the top of the bedside, and the other starting at the bottom of the front wheel cutout and ending just a bit back of the first curve. They should both be curved downwards. Now change to the Single Line option, and connect the two curves at their start and end points.
As you can see, more Renault inspiration, my swoop will be yellow.
Now, staying on the same layer, use the fill tool to fill the area in with the same color as the lines you made. Then you can switch the second layer back to viewable, and see how it looks color-wise.
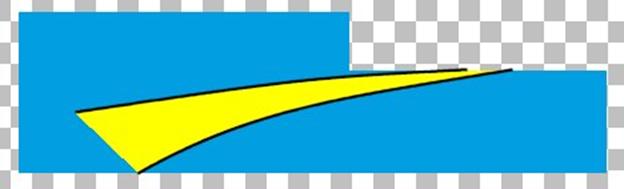
Yeah, I know, not much now but just wait. Create another new layer, name this one "Graphics-2" or similar. While on this layer, select the Draw tool again. This time the options will be different. Use the Bezier Curve, line width 2, and check the Antialias box. This "Antialias" is what makes the textures look not jagged and blocky, like they were made in MS Paint. It slightly blurs the line to approximate the curve better and make it look smooth, but not enough to look blurry. Now chose another color as a foreground color, as long as neither your base or swoop color are black, I would suggest it as it makes the graphic pop out.
It gets tricky here. Use the tool to make an outline of the swoop. This can be tricky with the Bezier Curve tool but keep trying, you should eventually get something where the base and swoop colors are completely separated with no rogue pixels on either side. Don't worry about the lines connecting the two initial curves, in fact, don't outline those parts, it could ruin the effect.
This looks OK but it could use some more flare. Go back to the "Graphics-1" layer and use the Magic Wand tool (Magic wand icon-duh) to select the swoop. Then use the menu bar to get to Effects>3D Effects>Inner Bevel. Here is where you can give the swoop a 3D look. I suggest playing around with the options until you find a look you like, here are my settings for this tutorial:
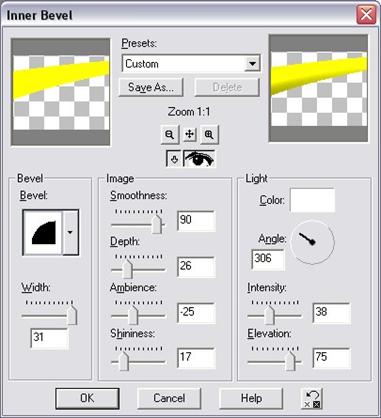
And the resulting look:
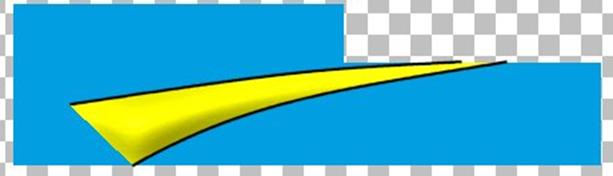
Congratulations! You have now finished your first major graphic! If you want, hide the background and "base color" layers, and use the menu bar to go to Layers>Merge>Merge Visible to merge the Graphics-1 and Graphics-2 layers into one merged layer, you can name it "Swoop".