
Painting Trucks in PSP 7
A Tutorial by Cale Putnam
[ Intro | Layers | Trucks | Body | Rips | Details | Shading | Textures | Assembling | Links ] - [ MTMG ]
Onto The Rips!
Now onto the rips. The E-Maxx has an odd rip/flame hybrid, so I am going to try to make my rips as flame like as possible. This time I will go in reverse, doing the outline of the rips first then going back to fill it in with color.
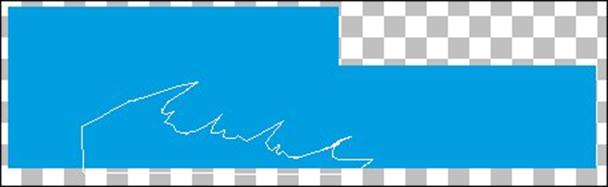
Make a new layer on top of all the other layers so far. Call it "Rips-1". Now go to the Draw tool. Make the tool type "Freehand line", line width 2, and Antialias checked. Now choose the foreground color, once again I suggest black. Now draw the outline of rips along the side of the truck, be random but for looks try to get the placement similar to here. Hiding the "Base Color" and "Swoop" layers can help. The Freehand line tool takes less than straight lines and smoothes them out, so it should look nice when it's done.
Now create another layer, name it "Rips-2". In the layer dialogue box, make sure it is above the "Base Color" and "Swoop" layers but below the "Rips-1" layer. Click, hold, and drag the layer into its proper place if necessary. In this layer, choose a different color as your foreground color (it doesn't matter at this point), and go to the Draw tool with the single line type, line width 1 and Antialias unchecked. Now outline the rips you made on the other layer on this layer. It doesn't need to be precise, just keep drawing short lines to approximate the curves. When you've gone from one end to another, connect the two ends with a pair of lines that meet in the wheel cutout or some such. Then hide the top outline and make sure there are no gaps. Having the "base color" visible might help.
Then fill in this rough outline with the same color.
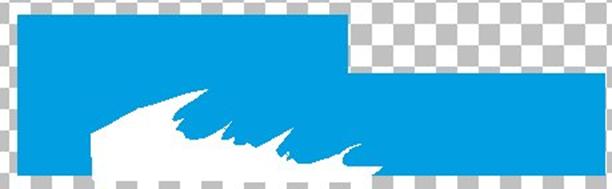
Now use the magic wand tool to select the filled in color. Then choose the Fill tool. Choose different colors for the foreground and background, make sure you want both on the truck. White, the last Renault color, is my foreground and yellow, to match the swoop, is my background. Under where it says Styles, there should be a little white box with a small arrow in it. This is the style of fill. Click on the arrow and choose the second option, the box with the white/grey/black. This is a gradient fill.
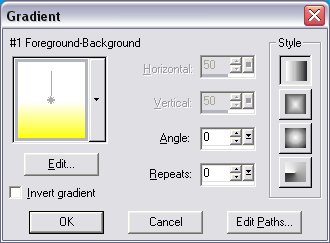
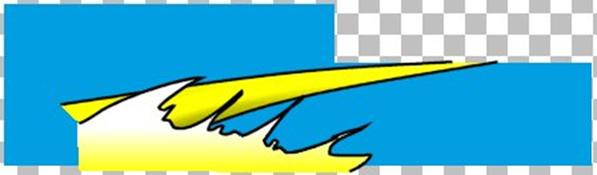
This is what the dialogue box should approximately look like. Most options here are self explanatory, you might want to keep the same options that I have but feel free to goof off with it. There are preset color gradients that you might prefer. Anyhow, fill in the colored area and then make the rip outline visible again.
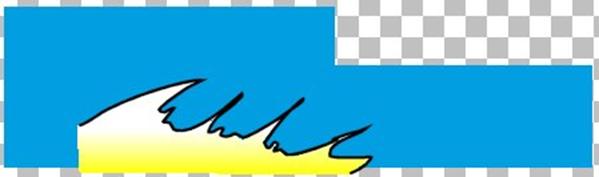
Looks cool, doesn't it? You can now merge the two rips layers and make everything visible again to see what you have come up with!
I'd suggest saving here so that you don't lose it, you've come this far already.