Painting Trucks in PSP 7
A Tutorial by Cale Putnam
[ Intro | Layers | Trucks | Body | Rips | Details | Shading | Textures | Assembling | Links ] - [ MTMG ]
Shading The Truck!
Now comes a very tricky part: shading the truck so it has the body lines of a 2004 F-150. This can be hand done, but there is a better way.
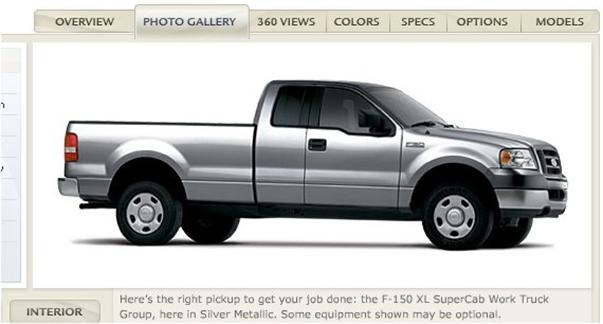
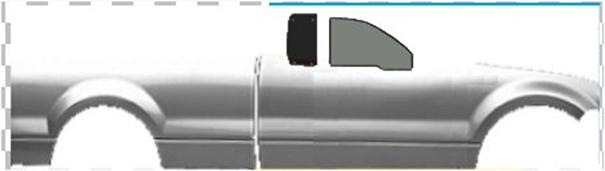
A quick search of the Ford website brings up this pic:
It's from a Flash file, so hit the "Print Screen" button and then Paste as New Image in PSP. Then crop the image so it is just the truck.
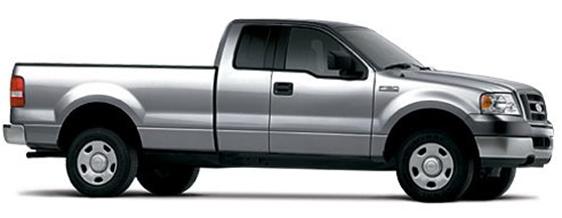
Now erase all of the truck except for the side. Get rid of the greenhouse too, we just want the bedside, door, and front fender.

Now rotate the image using the Free Modify tool until it is level. I also got rid of the door handle and used Colors->Greyscale to make sure it is only black and white. Make sure to bump back up to 16 Million colors if you do this.
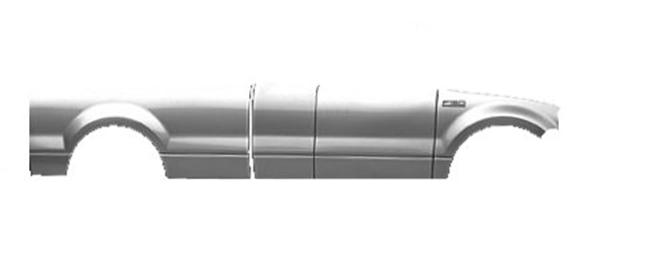
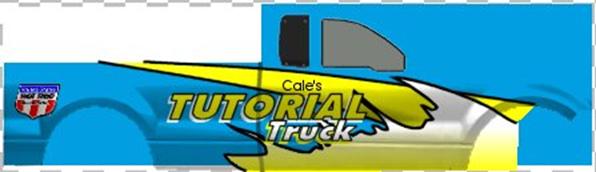
Now go to your working truck image. Create a new layer between the name and window layers, call it "shading". Copy the black and white side of the truck and paste it onto the new layer, then use free transform to make it fit the length of the truck. Once I saw how mine looked on it, I made more changes, eliminating the door gaps and the F-150 logo. I also made sure I filled in the white bed/cab gap with a black color so it looks more like a gap on the truck, and moved it forward so it aligns with the back of the cab.
Now, in the layers dialogue box,
select the "
Now copy, paste, and mirror to get shading on the other side.