Painting Trucks in PSP 7
A Tutorial by Cale Putnam
[ Intro | Layers | Trucks | Body | Rips | Details | Shading | Textures | Assembling | Links ] - [ MTMG ]
First thing's first: Know Your Layers!!!
One thing which constantly amazes me is how many people have said that they don't use layers. Most of my paintjobs would be impossible without the layer system. Here is a quick review of how it works.
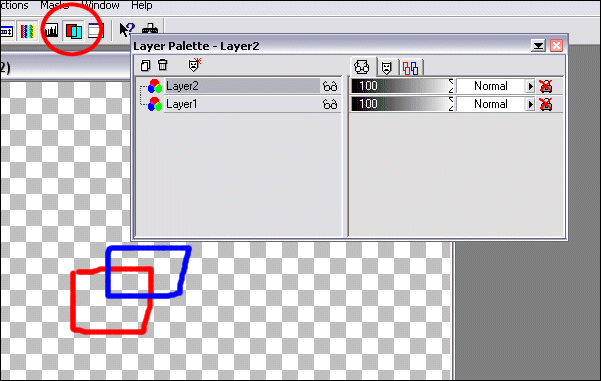
In this image, the red/cyan button in the toolbar brings up the layers dialogue box. In the dialogue box, the overlapping papers create new layers, the trash barrel deletes the selected layer. Each layer line includes the type of layer (for the purposes of this tutorial, every layer is a Raster layer when created and should have the 3 colored circles), the layer name, visible or not (click on the glasses to hide a layer from view, click on the then red x to view it again), and then the transparency level. That is the critical info for this tutorial, the rest of the box will not be used.
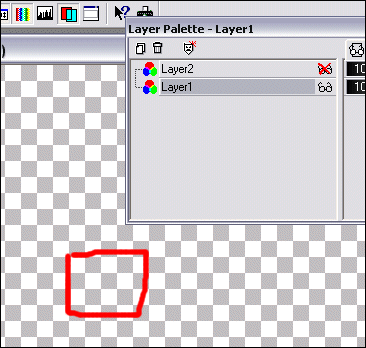

Here's a quick example of how layers work in practice. Layer 1 is the red box and layer 2 is the blue box. Because layer 2's bar is on top of layer 1's in the dialogue box, its image is on top of layer 1's in the picture (see the top picture for reference). When a layer is selected, the layer can be worked on without changing other layers. We'll put this into practice later on with the actual tutorial.