|
| |||||||||||
|
(Top-Crush) A Top-Crush model is intended to show an object squishing when you drive over it. Like a car gets flattened, for example, at a real monster truck rally. To make a Top-Crush model work properly in the game you actually need FOUR bin models. In Traxx, you will apply only two of them in your track. But make no mistake, you still need all four models.
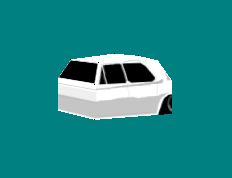
PART 1 - The Models Let's begin with the animation 'frames'. The first frame of the animation should be the 'uncrushed' model. This should look like the model as if it has never been crushed, before the crushing happens. For a car model, it might look something like this:
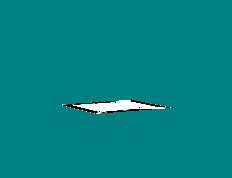
The second frame should be the crushed model. That is, the model as if it HAS been run over. The best way to make this is to just use the first frame and flatten it in binedit.
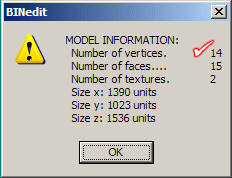
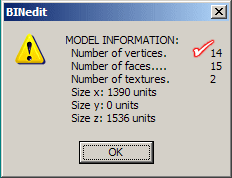
You should also note that both frames must have the same number of verticies and faces. If they don't, the game will give an error (usually 'key frame mismatch'). Now that we have the crushing parts, we need the non-crush part. This is the part of the model that does not get crushed in the game. For a car, that would be the main part of the body, trunk and hood. It might look something like this: 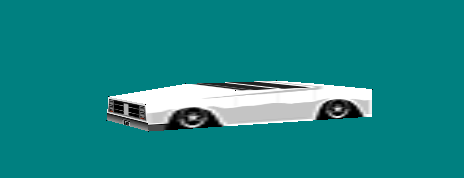 The non-crush model does not have to have the same number of verticies as the crushing parts. Next, we have to make an animation control bin for the two frames. Use Oliver Pieper's Bin Animator to do this. Animation control bins and their frames (also bins) must use unique file names just like any other model. Often, it is easier if you use the same name but use numbers or letters to differentiate between the frames and the control bin. Anyway, copy binanimator to the same folder you have the bins saved in. Type the names of the frame models in the "Frame Filenames" boxes. A Top-Crush model can have two frames only. Type 1 in the frames per second box. And type 2 in the number of frames box. Type the name of the new file you want to create in the Animation Name box. When you're done, it should look something like this: 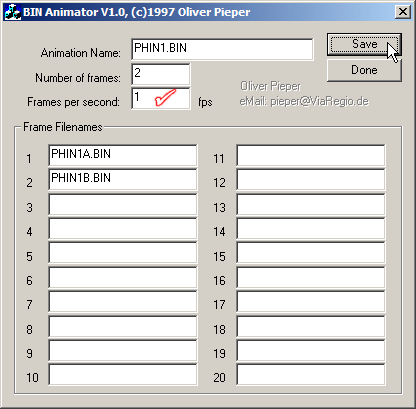 Again, make sure you use original and unique names. Then click the Save button. Check the folder and you should see the new animation control bin saved with the other models. PART 2 - Traxx Open all four models in the Traxx models box. 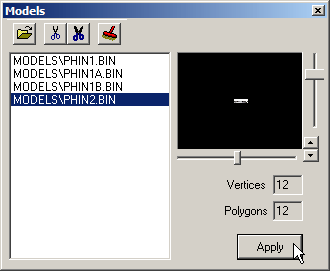 Apply the non-crush model to the object box. It will look the same as any other model you place in your track. Double click the model to open the properties box. Set its property type to "Top-Crush" 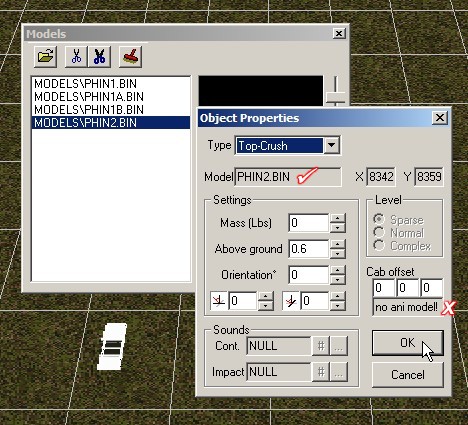 Notice the non-crush model name appears in the normal model spot. However, for Top-Crush there is also a new set of options. You will see "Cab Offset" and "no ani model". Ignore these for now. Click ok to close the property box. With the models box still open, highlight the animation control bin. Apply the animation control bin to the non-crush model. 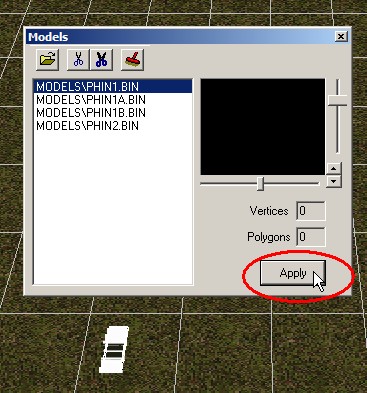 Notice it does not change; it remains the non-crush model. That's as it should be. Double click the model to open the properties box. 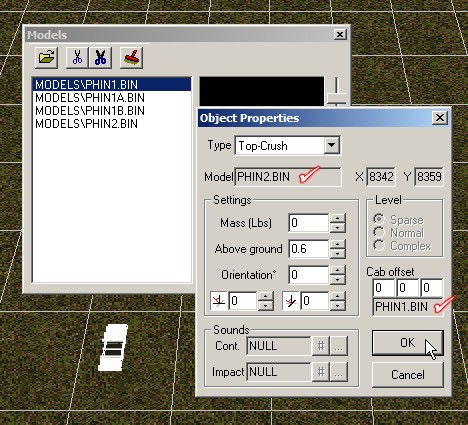 You should now see the animation control bin listed beneath the 'cab offset' part where it used to say 'no ani model'. Traxx automatically detects when you are applying the regular or animated model to the object. It is hard to make mistakes here. You see the non-crush model in the property box. And you see the animation control bin in the same property box. You do not see the frames, even though they're listed in the model box. This is all good. Click ok and you are now ready to test it in the game. The game will automatically change from the uncrushed model to the crushed model when you drive over it. Note. Cab offset will align the crush models with the non-crush model, if needed. The three boxes correspond to the x,y,z coordinates of the game. x and y will move the crush models forward and back or left and right. The z value has no real effect. Note. You are allowed only 10 Top-Crush models in a track. Have fun
| ||||||||||
