Make sure that you have a "Typical" or "Full Install" of mtm2 loaded on to your computer. Download Tracked2 and unzip it to your mtm2 folder. Place a shortcut to Tracked2.exe on the desktop.
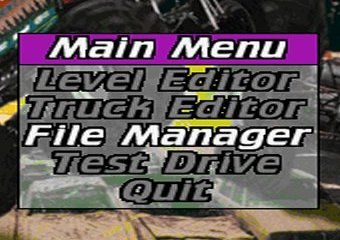
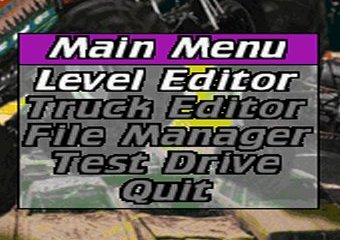
Start Tracked2. You should see the main menu. Use the arrow keys to highlight "File Manager" and press enter.
The File Manager menu options will appear. Select "2. Extract files from .POD" by pressing the 2 key.
You will be prompted for a pod file name.

Type "crazy98.pod" and press enter.

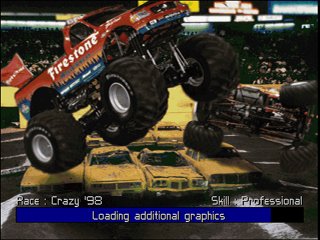
This will take a few moments. You'll see several screens like the following as Tracked2 extracts the models, art and other files from the crazy98 game pod to your hard drive.
Note. It is possible to extract the files from all the tracks at once by selecting "D. First time setup" from the menu by pressing the D key. This is not recommended because it uses a lot of disk space and slows down tracked2.
Once complete, press the space bar (or Esc) and you'll return to the File Manager menu.
Now repeat this step but this time extract the "truck2.pod". (Press the 2 key to extract from pod, type "truck2.pod" and press enter, wait for the files to extract, press space bar or Esc to return to the File Manager menu).
To create a new track, you need to clone an existing MTM2 level. This is necessary because the only way to make your own track (using Tracked2) is to edit an existing one. Tracks (or Levels) are typically called "situations" in the editor, but track is an easier term to remember; after all, that's what it is. A track is saved as a SIT file. You will find SIT files in the "World" sub-directory in the mtm2 folder. For our example, we'll be using the SIT from Crazy 98.
Select "B. Create a new level (clone)" by pressing the B key.
You'll be asked for the name of the track you want to use. Type crazy98 and press enter.
Note. When you build your own tracks, you can use any of the stock tracks you want.
Now you will be prompted for a base file name. This is not the name of your track; it is the file name (including a SIT file) your track will be saved as. It can be up to seven characters long with no spaces. Let's call it "MyTrack" or something like that (if you plan to make a track to share with others, this name must be unique). Type in the name and press enter.

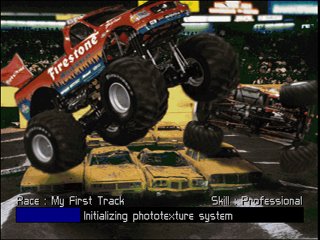
Now you will be asked to give your track a name. This is the name as it will appear in the game. It can be up to 31 characters long and can contain spaces. Let's call it "My First Track". Type in the name and press enter.

You will see the track you're cloning load. This looks just like starting a race.
When complete, you will be returned to the File Manager menu.
Press Esc to return to the main menu.
Use the arrow keys to highlight "Level Editor" and press enter.
Tracked2 will load the textures for your track. Not much for you to do here but watch and wait.
You'll be asked what track to edit. Type mytrack and press enter. (remember "mytrack" was the name we used above).
Now you'll see tracked2 load up the rest of your track. Again, this will look like the start of a race. It's not, but it looks that way.
Note. You may see a 'No .LTE file' message. Don't worry, just press the space bar and everything should load fine.

Finally, you should see the track editor menu.
From the track editor menu, select "C. Altitude Map Editor" by pressing the C key. You may also use the arrow keys to highlight "C. Altitude Map Editor" and press enter.
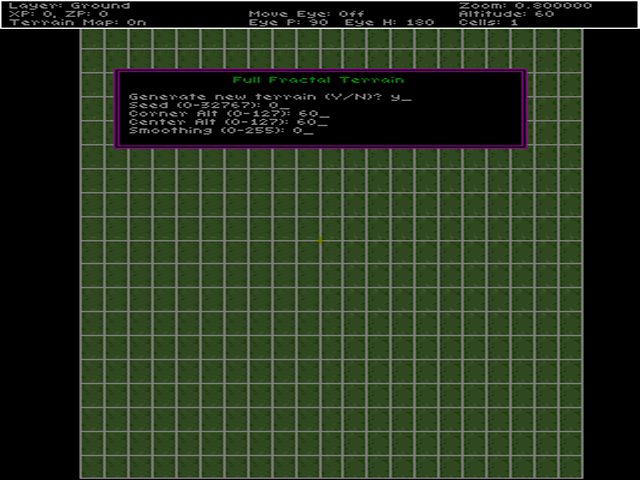
You will see your track in the editor window. Press the C key. You will be asked if you want to generate a new terrain. Answer Y for yes. You will then be prompted to enter four values. Type each value like this and press enter after each one.
Seed: 0
Corner Alt: 60
Center Alt: 60
Smoothing: 0
Press Esc and you will be prompted to save your work.

Press Y for yes. The track will be saved using the same name you gave it when you first set it up.
You're ready to start building your track.
| Tracked2 Menu | > > next > > |