|
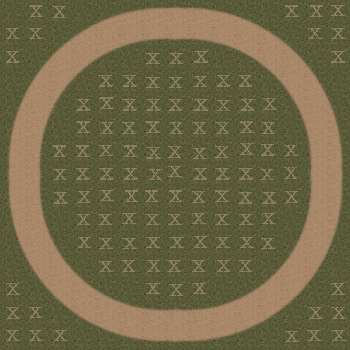
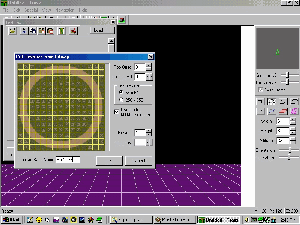
STEP NINE - Slicing the image. The large image must now be sliced or cut into smaller images so you can use it in the game. There are several ways you can prepare the image; I will mention three of them. Recall, the "x"'s mark the redundant textures. Note. any markings will do the job.  Method 1 - Slice60 This is a new tool released by TRI. It is now the number one choice for slicing graphics. Please see the Slice60 page for details and how to use it. Method 2 - Traxx 1.4 In Traxx 1.4, the final image will have to be 904x904 pixels. In order to get the extra four pixels you must swap the top/bottom two pixel edges and the left/right two pixel edges. This will make up 15x15 squares in the game. And, finally, always remember and never forget that the image must be an 8 bit 256 color graphic. You can find extra notes on the custom texture page in mtmg Traxx Help.  Method 3 - The Winterkill Torture Exercises You can now process the image as Winterkill describes in his texture tutorial and cut it using GreenGiant's axe. Your image will have to be 960x960 before slicing. Note. There are still other methods in addition to these, but with Slice60 now available anything else is just far more work than it's worth.
 |